Depth of Field
How much of the scene is in focus from front to back.
FinalFrame valuta ogni foto da 0 a 10: un 6 è competente, un 8 è degno di un portfolio e un 9 è di livello espositivo. Come funziona il punteggio
Cos'è davvero
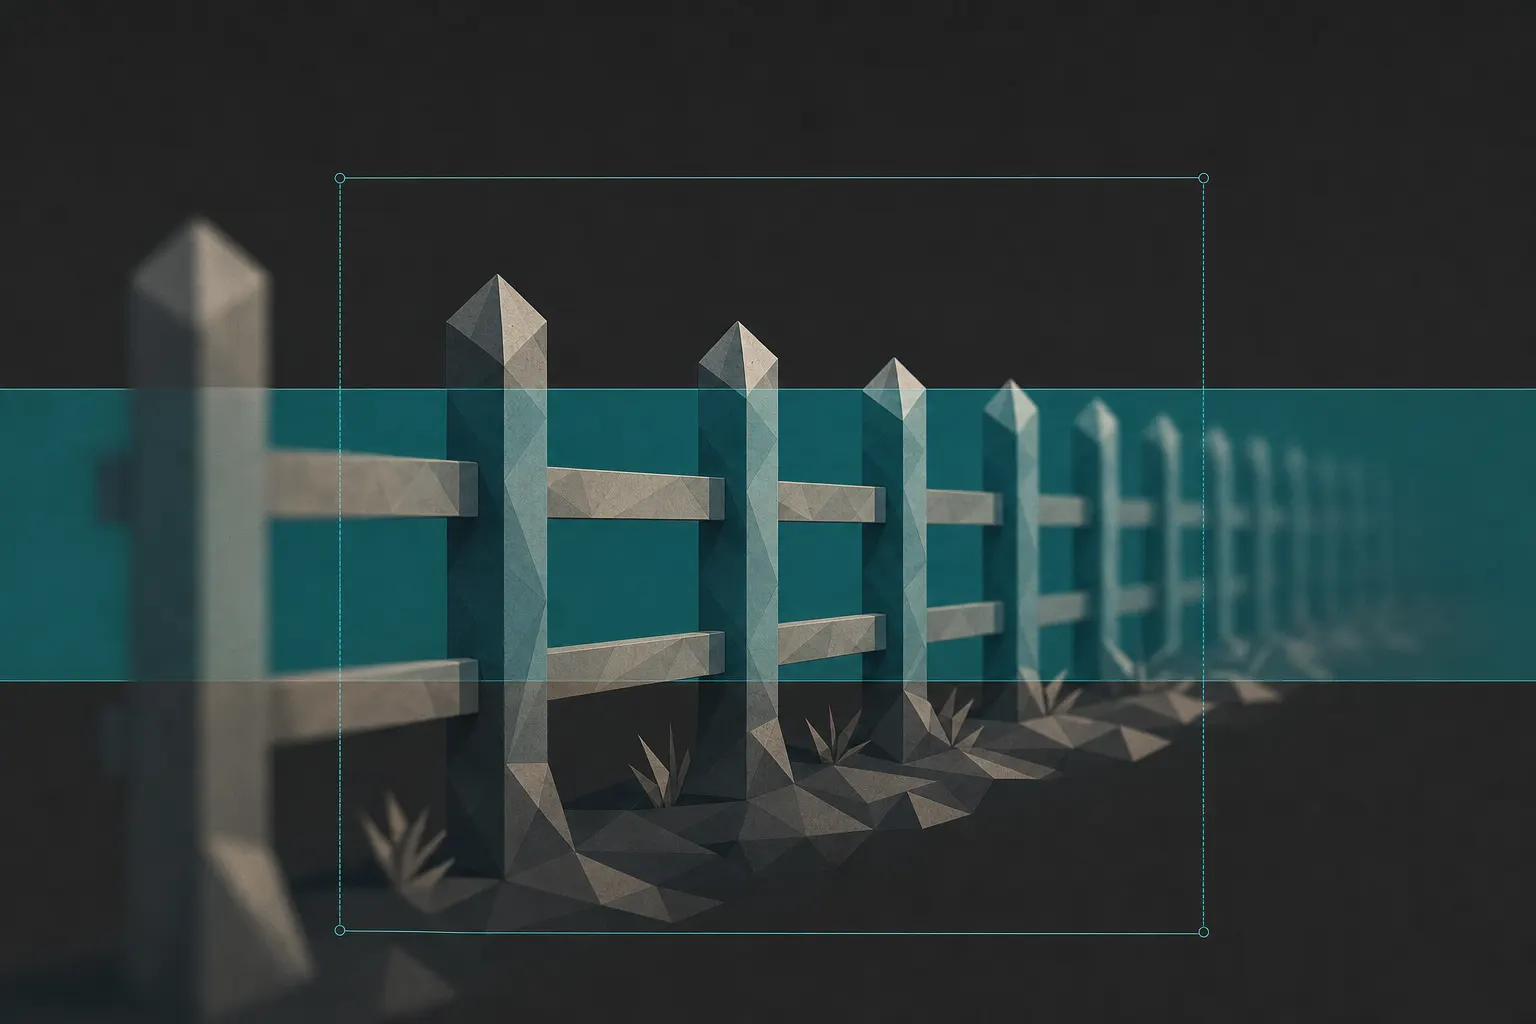
Depth of field is the thickness of the sharp zone: the slab of the scene, front to back, that renders acceptably sharp around the plane you focused on. It is not WHICH plane is sharp; that is focus, and it is a different question. It is not what the blur beyond the slab looks like; that is bokeh, the character of the defocus. Depth of field is one measurement: how much of the scene's depth holds detail (a slab of a centimetre or two on a wide-open close portrait, a slab from your boots to the horizon on a stopped-down deep scene).
"Acceptably" is the load-bearing word, and it is the part beginners skip. There is exactly one plane of true focus; everything nearer and farther is already softening, and depth of field is only the band on either side where that softening is still too slight to see. Too slight to see at what size? That threshold has a name (the circle of confusion, the largest blur disc the eye still reads as a point) and here is the honest fine print under every depth-of-field scale, table, and app: the circle of confusion is not a property of the lens. It is an assumption about the print. Someone chose an output size and a viewing distance and decided how much blur a viewer at that distance would forgive. Show the same file larger, or let the viewer lean closer, and it has less depth of field than the table promised: without a single pixel changing.
So depth of field is a negotiation between three levers set at the shutter (aperture, subject distance, focal length) and one decision made at delivery: how big and how close the image will be seen. The frame at a 6 was asked one question: what aperture gives a nice blurry background? The frame at an 8 answers two better ones: how thick does the sharp zone need to be to hold what matters, and where, exactly, does it sit?

Generata dall'AI
Perché un 6 non è un 8
A 6 gets its depth of field as a side effect; an 8 chooses it. The 6 fails in one of two directions. Either a "safe" middle aperture, and the slab lands wherever it falls: the eye is sharp, but so is the busy wall behind it, because nothing decided how deep the zone should be. Or the reflexive wide-open on every subject, because shallow reads as professional, and the zone comes out so thin that one eyelash is sharp while the far eye and the tip of the nose dissolve. The tell is the same in both: the frame cannot answer why its sharp zone is exactly that thick, or why it sits exactly there. The depth is an accident the aperture handed over.
An 8's thickness is a decision that serves the subject, and the zone is placed so its front and back edges fall where they should. A shallow 8 isolates on purpose: a slab just deep enough to hold both eyes and the tip of the nose and not a centimetre more, so everything behind falls away and nothing competes. A deep 8 resolves on purpose: the near flower and the far ridge both sit inside the slab, and the focus went not to the far ridge but to the hyperfocal distance, so the zone runs from close foreground to infinity and wastes none of its depth beyond the horizon. The judge's tell is a single question: is everything that matters sharp, and nothing that doesn't, and can I feel that the trade was chosen? On a 6 the depth happened. On an 8 it was decided, and the decision reads in the frame.
Prima dello scatto
Run the depth audit in three reads, all free, all before the shutter.
First, how deep is the subject itself, front to back? A face turned toward you is a few centimetres of critical depth: near eye, far eye, tip of the nose. A deep scene is metres to infinity. That number is your minimum: the sharp zone must be at least that thick, or part of the subject falls soft no matter how precisely you focused.
Second, where will the slab's edges land? The classic teaching says the zone extends roughly one-third in front of the focused plane and two-thirds behind it, and that split is a rough approximation, not a law. It drifts continuously with distance: up close the split approaches half-and-half, and out toward the hyperfocal distance nearly all of the depth lies behind the plane, running to infinity. What survives the caveat is the habit the rule was invented to teach: never focus on the near edge of the depth you need to hold (focus INTO it). Focus on the front row of a group and then stop down, and most of the depth you just bought is spent behind them, on empty air, while the front row can still slip soft. Focus a third of the way in, and the slab covers the whole subject at the widest usable aperture: the least cost in light and separation.
Third, the delivery check the camera's screen hides. "Acceptably sharp" is the circle-of-confusion assumption doing its work: it depends on how large the image is shown and how closely it is seen. A sharp zone that looks generous fit-to-screen can turn out too thin at print size. Judge the slab at 100%, or at the size the image will actually be seen, never on the comfortable lie of the LCD.
In fase di scatto
Three levers set the slab's thickness, and you have met all three in the bokeh lesson from the other side: there they govern how far the background melts; here they govern how thick the sharp zone is. Same optics, opposite question.
Aperture is the primary dial: stop down to a higher f-number and the slab thickens; open up and it thins. Each direction is a full trade: thickening the zone costs light and background separation; thinning it spends your margin for a focus miss. Subject distance is the lever most frames forget: the closer the camera stands to the focused plane, the thinner the slab, and dramatically so. Macro is the extreme (at life-size magnification the sharp zone can run under a millimetre even at middling apertures, which is why close-up work scraps for every fraction of depth) while a tight head-and-shoulders wide open at f/1.4 holds a centimetre or two. Back away and the same aperture buys far more depth: a portrait losing its far eye at f/2 is rescued by a step back and a reframe as readily as by stopping down. Focal length is the third lever and the subtlest: at a fixed subject distance, a longer lens renders a thinner apparent sharp zone and a wider lens a thicker one. The honest caveat: re-frame to the same subject size by walking, and focal length's effect on the slab very nearly cancels, but you seldom hold framing fixed, so in practice longer reads shallower and wider reads deeper.
Then place the slab. For a scene that must hold front to back, do not focus on the far distance: focus at the hyperfocal distance for your aperture (roughly, the nearest distance at which infinity still renders acceptably sharp); the exact figure moves with the circle-of-confusion assumption, which is why two apps can disagree, and everything from half that distance out to the horizon resolves. It is the single most efficient way to make one frame sharp front to back. And know the wall at the far end of the ring: stopping down past roughly f/11 to f/16, sooner on smaller sensors, keeps buying depth but starts spending overall sharpness on diffraction, softening the entire frame, focus plane included, so f/22 is rarely the free depth it looks like. That trade lives in the sharpness lesson. And when even the smallest usable aperture cannot span the range (a life-size subject, a foreground inches from the lens beneath a distant ridge), one frame physically cannot do it: focus-stack a near-to-far series and blend, the deep-field counterpart to the focus lesson's stacking note.
In post-produzione
Depth of field is set at the shutter, so post's honest role here is narrow: this section leans on the honesty clause the way the focus lesson's does. What post can do is fake LESS depth: a background that came out too legible can be selectively blurred to push it back. But that is precisely the synthetic-blur move the bokeh lesson takes apart, and it carries every one of the tells: the flat single-distance blur behind a hard subject cutout, the haloed or amputated edges on hair and glass, the specular highlights that smear instead of blooming into discs. It can cover a mild case at web size; it cannot manufacture the continuous, distance-graded falloff that real optics produce.
The clause cuts the expensive way: post cannot ADD depth the aperture never captured. A group shot at f/2 with the back row outside the slab stays that way: no slider brings that row into focus, because detail on that plane was never recorded, as unrecoverable as a missed focus plane itself. A too-thin slab on a deep scene is capture-limited in the hardest sense, and every real fix lives at the shutter: a smaller aperture, a hyperfocal placement, a focus stack (next time, not tonight). And the one genuinely free lever needs no gear and no editor: to melt a background that came out too sharp, move the subject farther from it; to hold a subject that came out too thin, step back and refocus into its depth. Depth of field is won in front of the camera.
La scala
- Beginner: depth by accident. One aperture for everything, whatever the light or the belief that blurry-background-equals-good suggests; accepts whatever depth falls out, and cannot say how thick the sharp zone is or where its edges land.
- Competent: thickness controlled, placement not. Drives depth with the aperture (stops down for the deep scene, opens up to isolate) and checks the result; but focuses on the near edge of the subject and quietly spends most of the bought depth behind it.
- Strong (the serious amateur's working level): the slab is placed. Focuses into the depth to be held, buys margin by stepping back or stopping down when a plane is at risk, and reaches for the hyperfocal distance on deep scenes so the zone runs to infinity without waste.
- Advanced: depth as authorship. The exact thickness the subject needs and no more, placed by the drifting front-back split and the hyperfocal distance; respects the diffraction wall instead of stopping blindly to the minimum; stacks when one frame cannot span the range, and sometimes accepts a thinner, riskier slab for isolation, or a deeper one at a diffraction cost for resolution, each trade made on purpose.
Vai a scattare
Run this in two parts: a calibration drill and a real-picture loop. Only the second goes near a critique.
First, the seeing drill, to calibrate your eye for the slab (a test target: it never gets uploaded). Find a row of things receding from you at an angle (books along a shelf, a line of bottles, fenceposts) and mark a single spot to focus on, about a third of the way into the row. Lock camera position, framing, and focus point. Aperture priority, so the shutter compensates and the aperture is the only variable. Shoot the same frame across the whole range: wide open, then down in two-thirds-stop clicks to your lens's smallest useful aperture. Import the set and study the zone, not the subject: in each frame, find the nearest thing that is acceptably sharp and the farthest (those are the slab's front and back edges). Watch the slab thicken as you stop down; watch more of each new increment land behind the focus mark than in front, and notice the split evening toward half-and-half if you set up close, the drift that keeps the one-third rule an approximation rather than a law. If you went far enough down the ring, find the frame where the focus mark itself went soft: that is diffraction, the far wall, met in your own file. One last look costs nothing and teaches the delivery lesson: take one middle-aperture frame and judge its slab fit-to-screen, then at 100% (the zone shrinks as the view grows, the circle-of-confusion assumption made visible). That ramp is a map of every slab your lens can cut; keep it.
Now the real-picture loop. A critique named FOCUS as this work's bottleneck, and depth of field is the margin around the plane that focus places: too thin a slab is how a perfectly aimed focus point still leaves part of the subject soft. Shoot a real scene with a distinct near element and a far element metres apart (a subject in a foreground with a background that has to read) or simply reshoot the exact scene whose critique sent you here. Choose the aperture and the placement the drill just taught you: the thickness the picture needs, no thinner and no thicker, focused into the depth to be held. Send that frame back for a fresh critique. The prediction is falsifiable: if the slab was the missing piece, the new critique should name a different limit, and the FinalFrame Score has room to move with it.
And if focus is named again, that is information, not indictment: the ramp you shot is already the diagnosis, so walk it. Find the frame whose zone was thick enough and check where its edges fell. A thick-enough slab that still left the subject soft is a placement miss: the zone sat in the wrong spot, which sends you one lesson back to focus. A ramp where no aperture ever spanned the subject is physics: the scene held more depth than the lens could cover at that distance, and its fix is a step back, a hyperfocal focus, or a stack, never a slider. Either answer is worth the frames: the returned bottleneck tells you which of the two you are looking at, and each points at a different next move.
Lezioni correlate
Vedilo sulla tua foto
Il modo più rapido per capire il punteggio è leggerne uno su uno scatto che conosci bene.
Critica una foto