How to focus stack for front-to-back sharpness
Up close, depth of field collapses. At macro distances the sharp zone can be a millimetre deep (an insect's eye in focus while its wing dissolves) and the aperture cannot buy it back: stopping down to f/16 or f/22 deepens the zone but softens EVERYTHING through diffraction, so the trade runs out exactly when you need it most. The same wall stands in near-far landscapes, where a foreground rock a metre away and a ridge a kilometre away will not share one focal plane. Focus stacking builds what one frame cannot hold: a sequence of frames, each at the lens's per-frame sweet spot, focused at stepped planes from nearest to farthest, blended so only each frame's sharp band survives. Like a panorama it is a consistency discipline: the blend needs the sharp zones to OVERLAP, so the steps must be small enough that no soft band falls between them, and everything else (exposure, white balance, framing) must hold identical across the sequence. And the honest question before the first frame: does this scene sit still? Wind in the grass, an insect that breathes, ripples on water: a subject that moves between frames tears the blend, and a single well-placed frame that accepts some fall-off is often the truer photograph.
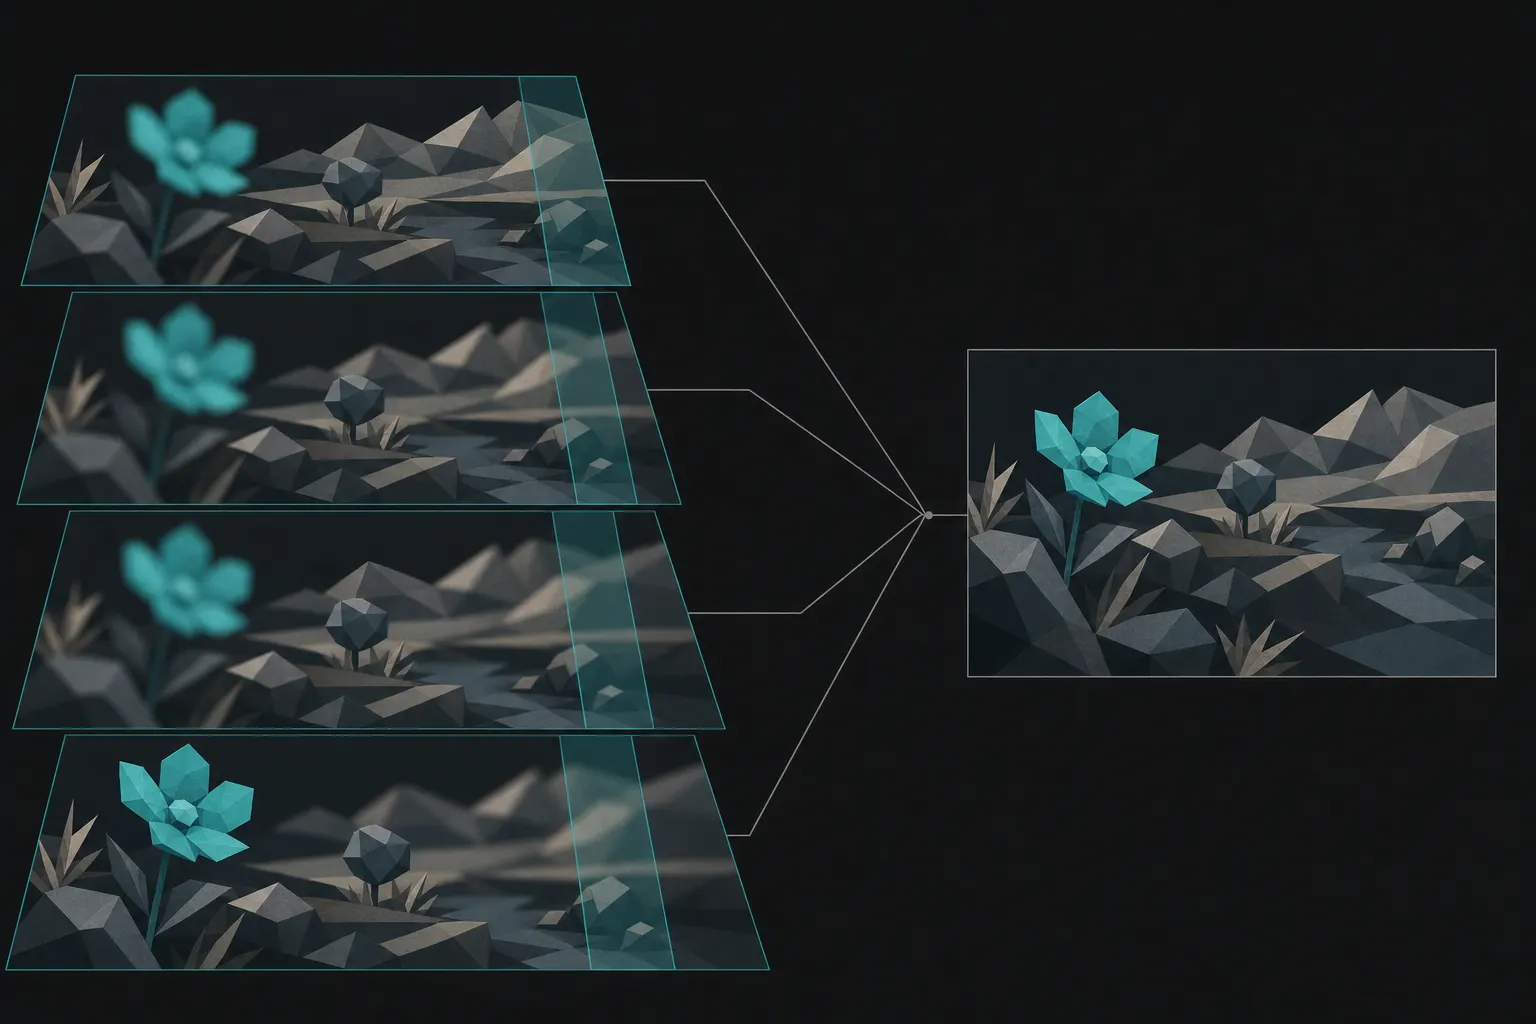
Starting points
- Aperture
- The per-frame sweet spot, usually f/5.6–f/8, NOT stopped down. The stack supplies the depth; each frame only has to be sharp where it is focused, so let the lens work where it is best.
- Focus steps
- Nearest point first, then step the focus toward the far limit in increments small enough that adjacent sharp zones overlap. Macro wants many small steps (often 10–30+); a near-far landscape may need only 3–5.
- Lock everything else
- Manual exposure, fixed white balance, no zooming, no reframing. The only thing that changes between frames is the focus distance.
- Support
- Tripod for landscapes; for high-magnification macro a focus rail or the camera's automated focus-bracketing feature steps more precisely than hands can.
- Shoot fast
- The scene must not change mid-stack: light, wind, subject. Run the sequence briskly; a stack is a single photograph taken over thirty seconds, not thirty photographs.
- Blend
- Any stacking tool (or the in-camera composite) aligns the frames and keeps each one's sharp band. Check the seams at 100%: blends fail quietly.
In the field
- Decide the near and far limits of sharpness you actually want: everything the photograph needs, nothing it does not.
- Frame, level, and lock the camera; set exposure and white balance to manual.
- Focus on the nearest point and shoot; step the focus slightly deeper and repeat until past the far limit.
- Keep the steps small enough that sharp zones overlap: when unsure, more frames, smaller steps.
- Watch for movement between frames; wait out gusts, re-run the sequence if the subject stirred.
- Blend, then inspect the transitions at full magnification before calling it done.
When it fails
- Halos or ghost edges where sharp meets soft
- The focus steps were too coarse: a soft band fell between two frames' sharp zones, and the blender papered over the gap. Re-shoot with smaller steps and more frames, especially through the zone where the subject's detail is densest.
- A subject edge that doubles or smears
- Something moved between frames: wind in a stem, a breathing insect, drifting clouds behind a ridge. Shoot the sequence faster, time it into a lull, or concede the motion: focus one frame on what matters most and let the rest fall off honestly.
- The whole stack slightly soft
- Usually one of two self-inflicted causes: the per-frame aperture was stopped down into diffraction (let the stack supply the depth and keep each frame at f/5.6–f/8), or the alignment drifted because the framing crept between frames. Per-frame sharpness is the raw material: the blend can only keep what the frames contain.
Stitched or compressed: get the honest read.
A technique assembles the frames; a critique reads the result. Upload your finished panorama or a standout single frame and FinalFrame returns the full diagnosis: what works, what limits the frame, and whether the fix lives at the desk or back in the field.
Critica una foto