How to shoot a timelapse
A timelapse is not a fast video: it is a sequence of stills fired at an interval and played back at video speed, so hours compress into seconds. The interval is the first decision, and it follows the subject's speed: fast-moving clouds or a busy street want a short interval, a second or two between frames; slow subjects (stars, a construction site, opening flowers) want a long one, many seconds to minutes, or the finished clip barely seems to move. The non-obvious craft is the shutter. Borrow the motion-picture ~180° rule: set the shutter to roughly half the interval so each frame carries a little motion blur and the played-back frames FLOW into one another instead of stuttering (a fast shutter freezes every frame and the result strobes). That is the same shutter-draws-motion physics the long-exposure lesson works at the far end, and in bright daylight reaching a slow-enough shutter needs an ND filter exactly as long exposure does. Then the arithmetic people skip and regret: the clip length is the frame count divided by the playback rate. Six hundred frames at 24 frames per second is twenty-five seconds; the same six hundred at 30 is twenty. Want a thirty-second clip at 24fps? That is 720 frames: at a four-second interval, roughly forty-eight minutes of shooting. Do the sum before the shoot, not after. Everything rides on a locked frame: a solid tripod, image stabilisation OFF (it hunts and drifts on a fixed mount), and manual exposure so the brightness does not flicker as the light shifts. The advanced tier is the holy grail: a day-to-night timelapse where the exposure must ramp smoothly across an enormous brightness change without a visible step; name it as the hard version and come back to it, because it is an exposure problem more than a timing one. And the honest entry point: most people start with a phone's or a drone's built-in timelapse mode, which handles the interval and assembly automatically; what shooting it manually adds is control over the shutter (the flow), the exposure (no flicker, and the ramp), and an interval matched to the subject rather than a fixed default.
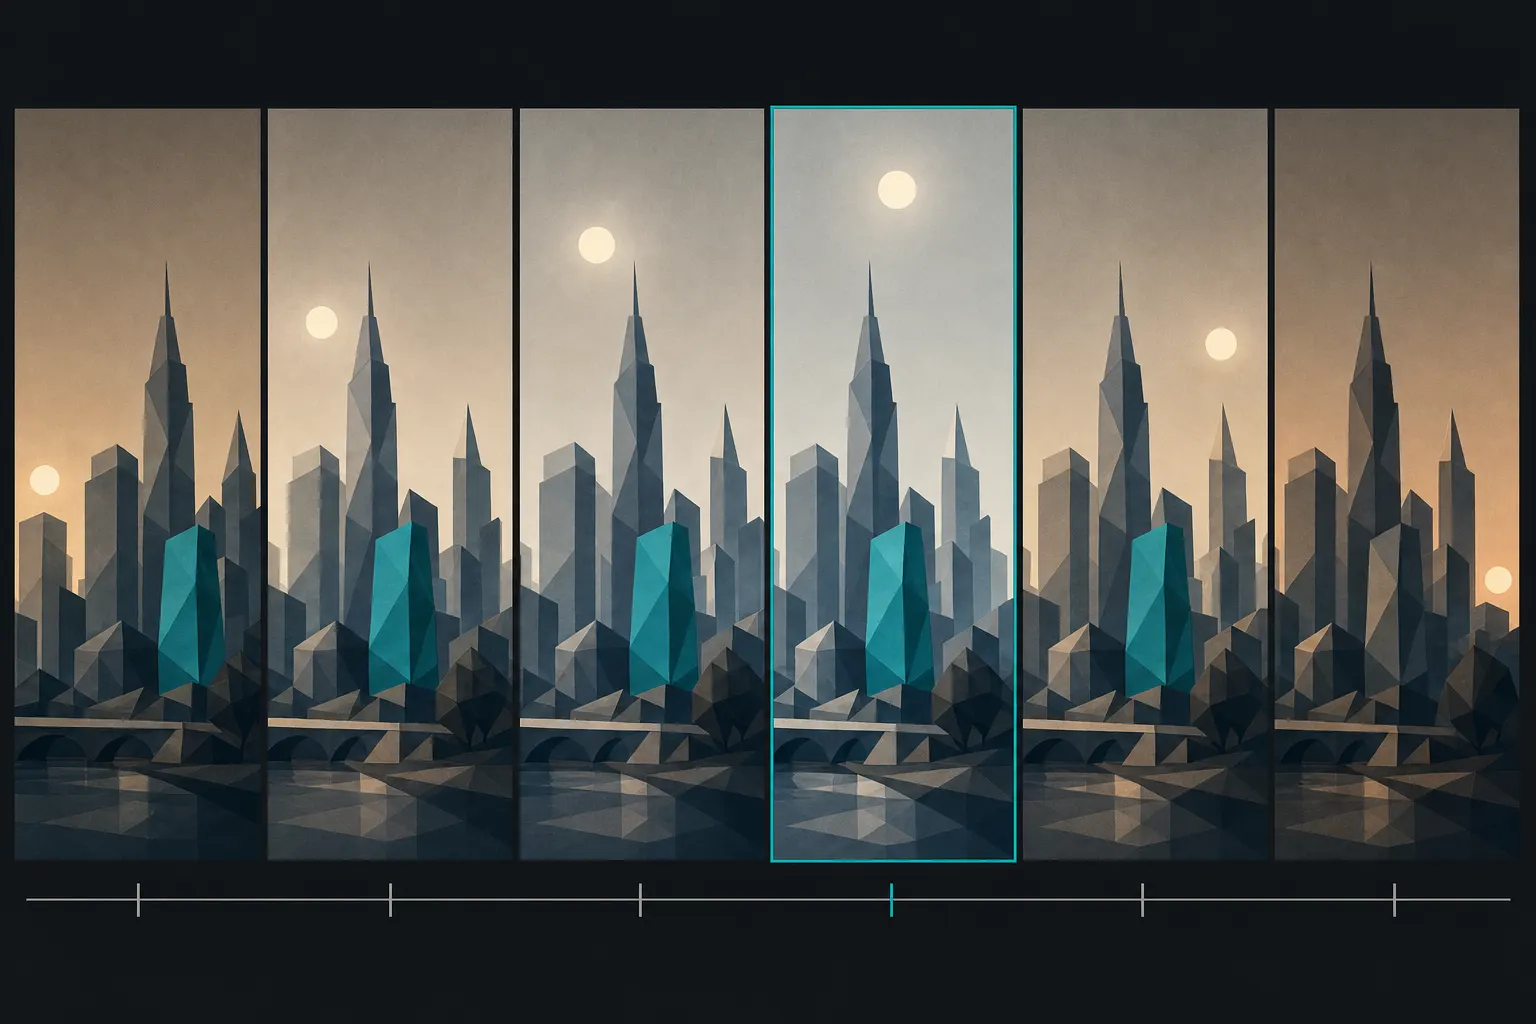
Starting points
- Interval
- Match the subject's speed. Fast clouds or traffic: 1–3 seconds. Slow change (stars, sunsets, construction, plants): 5–30 seconds or more. Too long an interval skips a fast subject's motion; too short on a slow one just fills the card.
- Shutter (the 180° rule)
- Set the shutter near HALF the interval so each frame holds a little motion blur and the clip flows. A too-fast shutter freezes every frame and the sequence strobes. In daylight, an ND filter brings the shutter down to that value: the same tool long exposure uses.
- Exposure
- Manual, so the brightness cannot flicker as the light shifts frame to frame. Auto re-meters each shot and the tiny differences stack into a visible pulse.
- Clip-length math
- Clip seconds = frames ÷ playback fps. Decide the clip length and fps first, multiply back to the frame count, then multiply by the interval to get the shooting time. A 30-second clip at 24fps is 720 frames: 48 minutes at a 4-second interval.
- Support & stabilisation
- A solid tripod, and image stabilisation OFF. On a locked mount, IS drifts the frame slightly shot to shot, which reads as jitter in the played-back clip.
- Focus & white balance
- Both locked manually. A refocus or an auto-white-balance shift between frames shows as a jump in the final clip.
In the field
- Do the arithmetic before you start: clip length × fps = frame count, then frame count × interval = shooting time. Confirm the battery and card cover it.
- Set the interval to the subject's speed: short for fast motion, long for slow change.
- Set the shutter near half the interval (an ND filter in daylight) so the frames carry motion blur and flow instead of strobing.
- Lock exposure, focus, and white balance to manual: any auto setting flickers or jumps across the sequence.
- Mount solid and turn image stabilisation off; a fixed mount does not need it, and IS only adds drift.
- Frame with room for the motion: clouds build, shadows travel, crowds spread; leave space for where the scene is going.
When it fails
- A stuttering, strobing clip
- Each frame is frozen sharp with no motion blur, so the eye sees a jump between them instead of flow. Slow the shutter toward half the interval, an ND filter in daylight, so every frame carries a little blur and the frames melt together: the same shutter-draws-motion physics the long-exposure lesson uses at the far end.
- Brightness pulsing or flickering through the clip
- The exposure changed frame to frame. An auto mode re-meters each shot and the differences stack into a visible flicker: lock exposure manually so the brightness holds, and for a shot that crosses a big light change (the day-to-night holy grail) ramp the exposure by hand in small, even steps.
- A clip that is over in two seconds
- The frame count was too low for the playback rate. Clip length is frames divided by fps, so a satisfying clip needs hundreds of frames: do the sum first (clip seconds × fps = frames, × interval = shooting time) and shoot long enough to fill it.
Stitched or compressed: get the honest read.
A technique assembles the frames; a critique reads the result. Upload your finished panorama or a standout single frame and FinalFrame returns the full diagnosis: what works, what limits the frame, and whether the fix lives at the desk or back in the field.
Kritikuj fotografiju