Highlight Recovery
Restoring detail in bright areas that appear washed out or pure white.
FinalFrame her fotoğrafı 0–10 arası puanlar: 6 sağlam, 8 portföye değer, 9 sergi düzeyindedir. Puanlama nasıl çalışır
Aslında ne olduğu
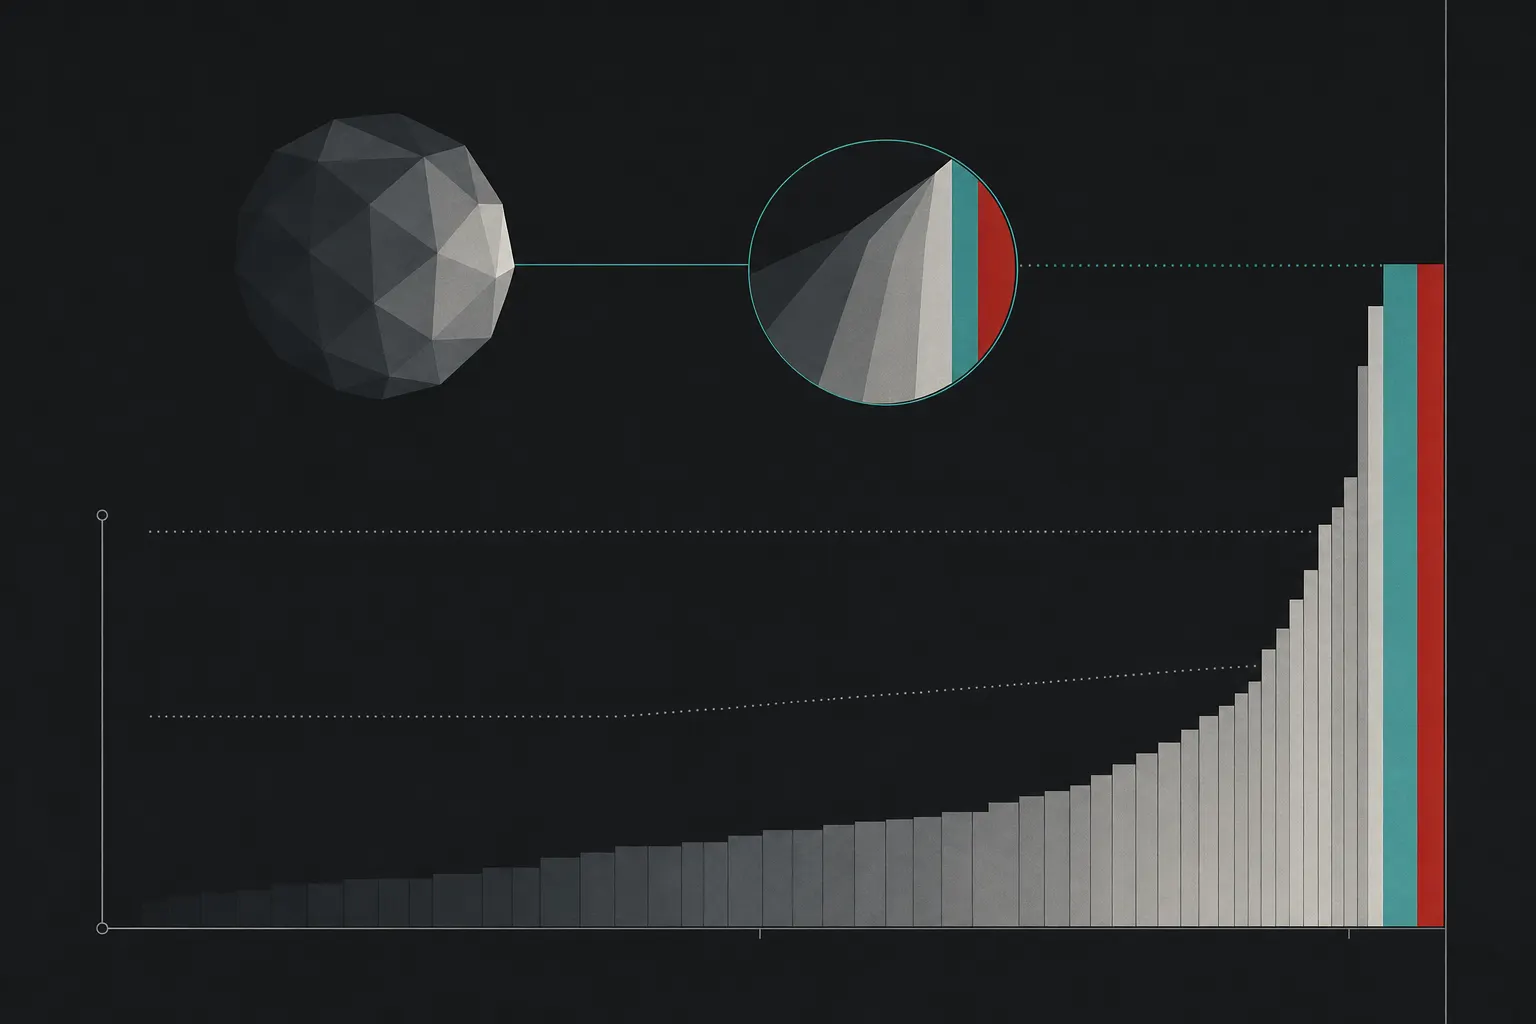
Highlight recovery is the post move of pulling the brightest tones of a frame back down until the texture inside them returns: the structure in a cloud, the folds of a white dress, the sheen on lit skin, the grain in sunlit snow. One slider, one direction. But the technique is welded to a hard physical boundary, and understanding that boundary IS the craft. A highlight that still holds recorded data below the top of the file's range comes back with its detail. A highlight the sensor drove to full saturation, all three channels at the ceiling, holds nothing, and pulling it down only turns the white into a flat, even grey. Recovery is a reveal, not a resurrection: it can surface detail the file still holds; it cannot manufacture data that was never written.
Which is why the real skill is decided at capture, not at the slider. The definition has two halves that cannot be separated: the post move (pull the retained brights down into detail) and the capture discipline that guarantees there is something to pull. You protect the highlight you cannot fake. This lesson is one lever inside exposure, executed later: the exposure lesson owns where the key tone is placed at the meter; the dynamic-range lesson owns whether the scene fits the sensor at all; recovery is the insurance claim you file afterward, and insurance pays out only on data you actually banked.

Yapay zeka üretimi
6 neden 8 değil
A 6 recovers what is convenient; an 8 recovers what matters, and knows the difference before touching the slider. The 6 hauls the Highlights control to the floor the moment the sky looks bright, and lands in one of two failures. Either the retained highlight comes back but drags a grey, lifeless pallor across the whole upper range with it, every bright tone in the frame taxed to rescue one, the flat, over-recovered wash that reads as HDR gone stale. Or the highlight was already clipped, and the slider produces a muddy grey patch where a textured cloud should be: structure that was never there to return. Both frames wear the same tell: the top of the image carries the editor's hand instead of the scene's light, and processing is the first thing a careful eye meets.
An 8 is surgical about the boundary. It recovers the diffuse highlight that holds detail (the cloud, the fabric, the skin) pulls it exactly far enough for the texture to read, and no further. And it LEAVES the specular highlight alone, because a glint of sun on water or a catchlight in an eye is supposed to be pure white: it is a mirror of the light source, and it has no texture to save. The judge's tell is honesty at the top end: bright tones that still hold their structure, and a few specular points that are cleanly, correctly white, with no grey haze proving a slider was dragged across the entire sky. That restraint, recovering the recoverable and letting the unrecoverable be white, is the difference between an edited sky and a lit one, and a viewer feels it before they can name it.
Deklanşörden önce
The seeing happens in two places, and the one at capture decides everything. Before the shutter, split the frame's brightest tones into two kinds. The first is the bright thing you want TEXTURE in: the cloud, the dress, the lit skin. The second is the bright thing that is only a mirror of the light source: the sun-glint, the chrome flash, the catchlight. The first you must protect; the second is allowed to blow, because it holds nothing to lose. Confusing them is the root error, and it cuts both ways: a whole exposure sacrificed to save a specular that was always going to be white, or a textured sky surrendered while the meter chased a shadow.
Then interrogate the frame the camera hands back, but distrust the warning. The blinkies and the on-camera histogram are computed from the embedded JPEG preview, contrast curve and white balance already baked in, not from the RAW you actually shot. They cry wolf early: highlights they flag as blown often sit a stop or so inside what the RAW still holds. Useful slack, but camera-dependent slack: test once where your body's true ceiling sits before you bank a key highlight on it. And read the individual R, G, and B histograms, not just the composite: a single channel piled against the right wall (the red channel in a sunset is the usual first casualty) is usually rebuildable from the two that survived, while all three jammed at the wall together is the real clip, the one no tool undoes. Shape matters too: a broad mass against the right edge is diffuse detail dying; a thin spike touching it is usually just your speculars, and that is fine.
Kamerada
Everything that makes recovery possible is bought here, before any slider exists. Shoot RAW: it is the whole game. A RAW file typically carries a stop or two of highlight headroom above what the JPEG shows, camera and picture-style dependent; a JPEG bakes everything past its clip point to a flat 255 you can never pull back. The difference between recoverable and gone is, in most frames, exactly the difference between RAW and JPEG, and it is not close.
Then expose to protect the diffuse highlight you cannot fake: meter so the textured brights sit just inside the clip point (expose to the right without driving that key highlight to true white) and let the specular glints go, because they were always going to. And when the scene's range genuinely beats even the RAW budget, do not gamble on recovery. Change the budget instead: bracket toward the highlight and blend, drop a graduated ND filter over the bright sky, or wait for the light to close the gap. Fitting a too-wide scene into the container is the dynamic-range lesson's call in full; the part that belongs here is narrower: recovery is insurance, and insurance only pays on data you captured. Protect it at the meter, and post becomes a reveal instead of a rescue.
Düzenlemede
Start with the boundary, because it is the whole truth of this technique: recovery reveals texture that is dim; it cannot create texture that is gone. A highlight the sensor saturated across all three channels holds no information, and the Highlights slider dragged across it only darkens the pure white into an even grey: it mutes the patch, it does not restore the cloud. That is the single most common disappointment in editing: the sky is not recovered, it is turned to putty. And no generative tool changes the verdict: a generative fill can paint a plausible fold into the dress, but painting is fabrication, not recovery; what it adds is a fiction the sensor never saw, not your photograph.
Inside the boundary, post has real latitude, and this is where the technique lives. From a RAW file, pull the retained brights back into genuine detail: work the Highlights control first to bring the top end down, then set the clip point with the Whites, and let the converter's highlight reconstruction do its quiet work (rebuilding a channel that clipped alone from the two that did not). Be honest about what that rebuild can promise: one clipped channel comes back clean, which is why the red sunset channel so often returns; two clipped channels leave a believable brightness with the hue an educated guess; three at the wall is no data, full stop. Recover only the diffuse highlight that holds detail, and leave the speculars white: a recovered catchlight is a grey smudge where a spark should be.
Two cross-links close the section. Whether there was anything to recover at all was decided at the meter, that is the exposure lesson's ground, and a clipped key highlight is capture-limited by definition: the fix was a bracket at the scene, and it is not for sale in software tonight. And the opposite failure (the whole upper range dragged grey and lifeless, the telltale flat haze) is an edit-discipline failure wearing this technique's name: recovery is a targeted reveal of one bright region, not a global tax on every highlight in the frame. Pull the tone that holds texture, stop the instant it reads, and let the rest of the brights stay bright.
Merdiven
- Beginner: the reflex pull. The Highlights slider goes to the floor whenever the sky looks bright; clipped and retained highlights get the same treatment, and there is no telling why some frames come back as cloud and others as grey putty.
- Competent: data-aware. Shoots RAW and knows the slider only works on data that exists; reads the composite histogram and avoids the worst over-recovery, but still burns exposures saving speculars, and still treats the JPEG blinkies as gospel.
- Strong (the working level for a serious amateur): surgical. Protects the diffuse highlight at capture by exposing to the right, reads the per-channel histograms to tell a one-channel clip from a three-channel one, and recovers narrowly in post, leaving the speculars white.
- Advanced, never needs the rescue. The key highlight lands just inside the clip every time; scenes that beat the sensor get a bracket or a grad; the recovery slider becomes a fine reveal of retained texture, and which brights will come back, and which were always going to be white, is known before the shutter fires.
Hadi, çek
Find ONE high-contrast scene with a bright, TEXTURED highlight in it: a cloudy sky with structure, a white building in sun, a figure in a pale shirt beside a window. Lock the camera down and shoot the same frame RAW three ways, changing only exposure toward the bright end: one exposed to protect the highlight (the textured brights just inside clipping), one a stop over, and one two stops over (the last one deliberately blowing that highlight to white). If your camera can save RAW+JPEG together, do it; you will want the pair.
Now do the work in post, because this is a post technique and the recovery pull is the only variable that matters. On each of the three RAW frames, take the Highlights control all the way down and watch the bright textured area. On the protected frame, the cloud or the fabric returns with its structure. Somewhere up the ramp it stops returning (the tone darkens but the texture never arrives, grey where detail should be) and THAT frame shows you the boundary in your own hands: the highlight was gone, and darkening it only proved it. Then open the JPEG of the protected frame and make the same pull; watch it fail where the RAW succeeded, and you have measured the RAW-versus-JPEG headroom for yourself, on your own camera, no folklore required.
Then close the loop: a prediction stated before you look, not a pat on the back for a frame you already like. Take your best recovered frame, brights revealed, and send it through a fresh critique. You are reading this because a critique named EXPOSURE as your bottleneck, so the prediction is specific and falsifiable: if protecting and revealing that highlight was the fix, the new critique should name a different limit, and the FinalFrame Score has room to move with the detail you saved. And if exposure comes back, that is a measurement, not a rebuke: either the key highlight was already clipped past recovery and this scene needed the bracket you did not shoot, or the highlight was never this frame's real exposure problem and the weakness lives at the shadow end instead. Both answers were worth three frames and a slider to learn, and both point at the same next move: the one you make at the meter.
İlgili dersler
Kendi fotoğrafında gör
Puanı anlamanın en hızlı yolu, iyi tanıdığın bir kare üzerinde bir puan okumaktır.
Bir fotoğrafı eleştir