Dynamic Range
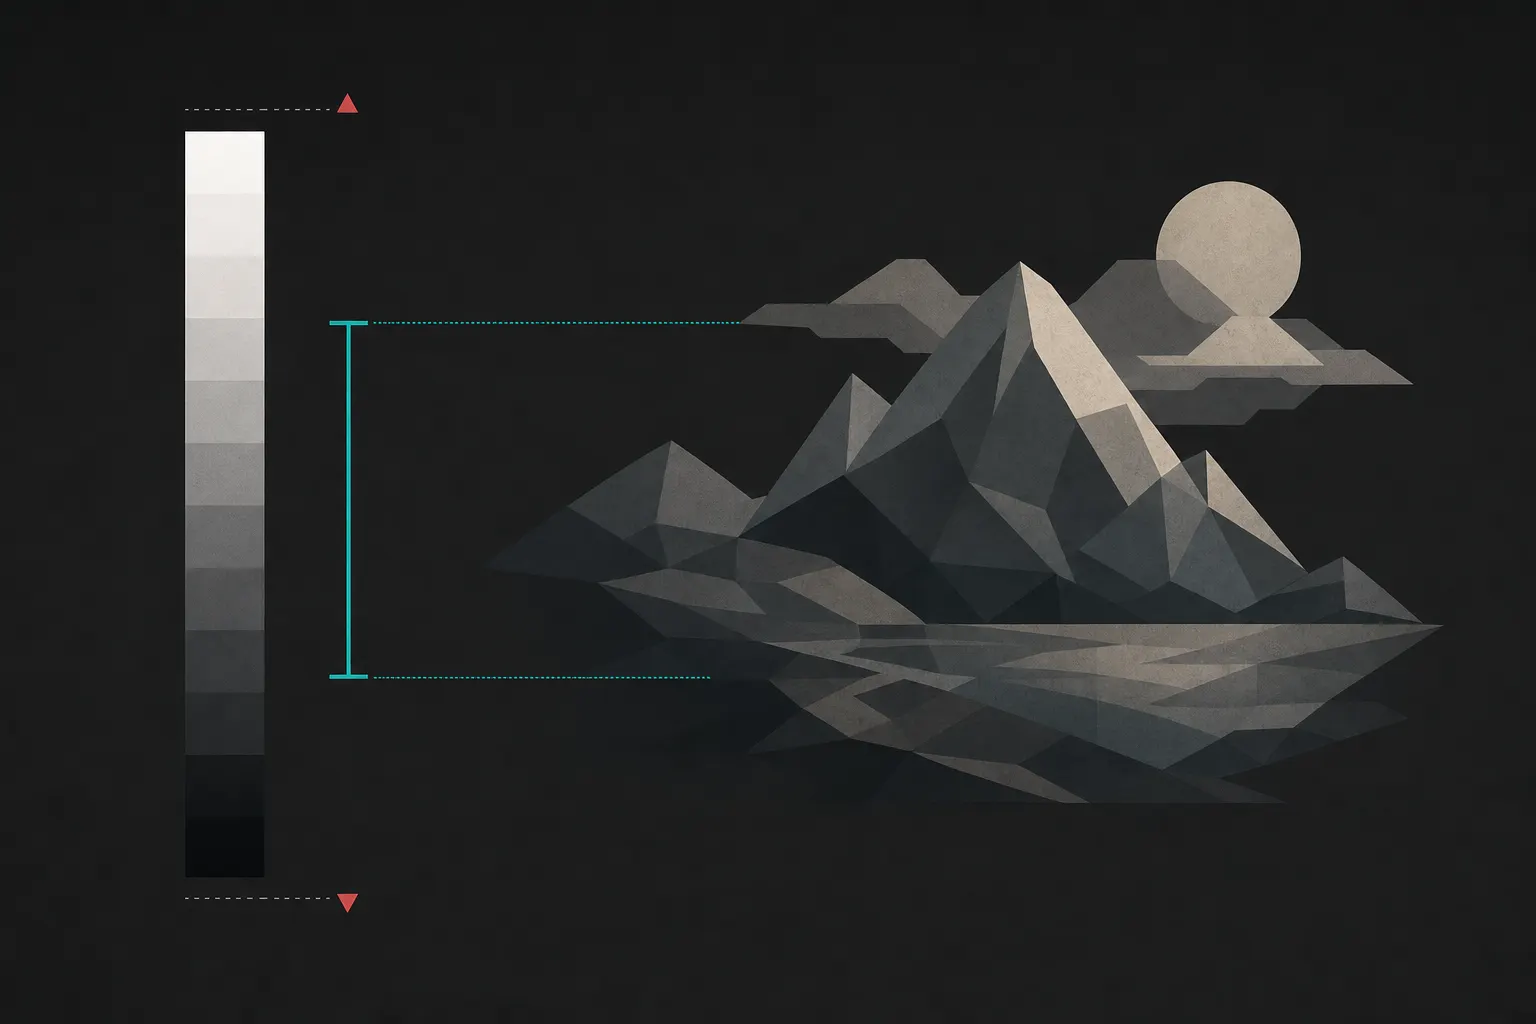
The span from darkest shadow detail to brightest highlight detail in the image.
FinalFrame는 모든 사진을 0–10으로 채점해요. 6은 탄탄한 수준, 8은 포트폴리오에 어울리는 수준, 9는 전시 등급이에요. 채점 방식
진짜 정체
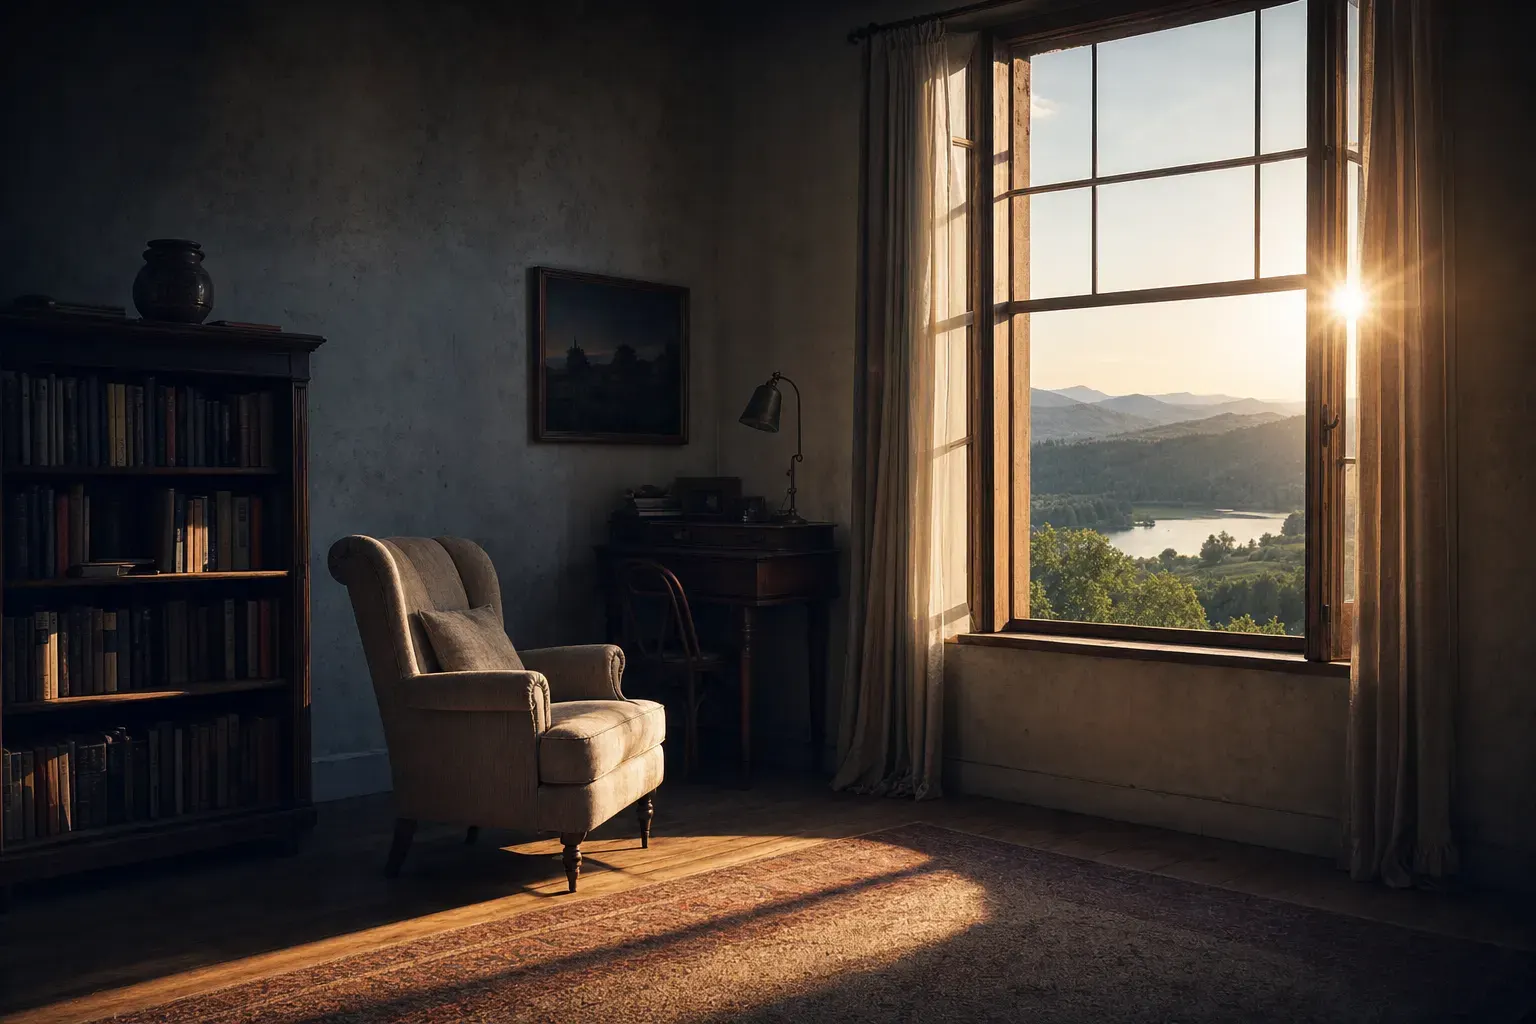
Dynamic range is a fitting problem, and it begins with two measurements most photographers never take. The scene in front of you has a span: the number of stops between the darkest thing you want to keep as texture and the brightest thing you want to keep as texture. And everything downstream of the lens has a span too: the sensor, the file, the print (each a container of fixed width the scene's span must fit inside). Name the medium before you trust any number, because the figures belong to media, not to photography in general. A modern sensor shooting RAW bench-measures somewhere around twelve to fourteen stops at base ISO, of which about ten are honestly printable before the shadow floor dissolves into noise, and that budget shrinks as the ISO climbs. A reflective print, at the far end of the chain, holds five or six; a delivered JPEG is not a five-stop wall of its own, it is the tone curve deciding how the captured span folds down toward that delivery end (the exposure lesson carries the fold in full). The scene, meanwhile, can be almost anything: a foggy street is three or four stops wide, a sunlit wall beside an open doorway can be twelve or fourteen, and a dim interior against a bright window can beat any single exposure ever made.
The craft is the fit. Reading how wide the scene is, knowing how wide the container is, and (when the scene is wider, which is most of the interesting light there is) deciding what to compress, what to bracket, and what to let go on purpose. This is not where the key tone sits; that is exposure. It is not the order the frame ranks its brights and darks to steer the eye; that is tonal hierarchy. And it is not the post move of pulling a bright back into texture; that is highlight recovery. It is the question underneath all three: does the whole span fit, and when it doesn't, is the loss decided, or does it just happen?
AI 생성
6과 8을 가르는 것
A 6 mishandles the fit in one of two opposite directions, and both look like nobody was at the controls. The common one: the scene was wider than the sensor and no decision was made, so an end that mattered was lost by accident (a sky gone paper-white where the cloud structure that justified the frame used to be, a shadow collapsed into black-and-noise with the subject's detail still inside it). The quieter one: the scene fit the container easily and the frame used almost none of it (every tone bunched in the middle, no true black to anchor it, no clean white to lift it, a span that reads as grey weather even when the light wasn't).
An 8 fits on purpose. When the scene is wide, the span is held end to end where it counts: cloud texture AND shadow detail both present, because the span was compressed, bracketed, or exposed to protect the data. When the scene is narrow, the frame still gets an anchor (a placed black, a controlled bright) so it has structure instead of mud. And when an end IS given up in an 8, the sacrifice reads as chosen: the sky is blown because the frame is a silhouette; the shadows are crushed because the picture is low-key on purpose. The judge's tell is one question asked at both ends of the histogram: is every lost tone a decision or an accident? In a 6 the losses are things that happened to the frame; in an 8 they are things that were done to it. Getting that right consistently is a real part of the climb out of the middle, not the whole of it, but a part no strong frame skips.
셔터를 누르기 전에
Measure the scene before you meter it, in stops. Find the brightest thing you want texture in and the darkest thing you want texture in, and estimate the gap between them: the doorway-and-sunlit-wall scene sitting at twelve or fourteen, the flat overcast street at three or four. Then hold that number against the container you are actually shooting into: the RAW budget if you shoot RAW, less headroom as the ISO rises. That one comparison tells you which job you have before you touch a dial.
If the scene is narrower than the container, the range is free: one frame holds everything, and the only risk left is the flat frame, where the ends go unused. If the scene is wider, you cannot have it all in a single exposure, and pretending otherwise is exactly how the accidental clip happens: the decision about which end gives has to be made before the shutter, because after it the losses are already in the file.
After the frame, the histogram states what the pretty LCD hides, and it has exactly two tells. Mass jammed against BOTH walls means the scene beat the container and something is clipping at each end. A mound bunched in the middle, touching neither wall, means a low-range frame with no anchor. (The camera draws that histogram from its JPEG preview, not the RAW: it cries wolf a little early, which is the safe direction to be wrong in.)
촬영에서
Four moves cover every too-wide scene ever metered, and owning all four is the whole ambition of this page.
Shrink the scene. A graduated ND pulls a bright sky down two or three stops until it lands in range with the land below it; a reflector or a touch of fill lifts the shadow side and closes the ratio from the bottom; and waiting (for a cloud to cross the sun, for the light to move off its worst angle) can drop a brutal fourteen-stop scene into something one frame holds, at the cost of nothing but patience.
Enlarge the container. When the span genuinely beats even RAW (the dim room against the bright window, sunrise over dark land), bracket three or more frames across the range and blend them later, shadows drawn from the brighter exposures, highlights from the darker. That is not cheating the medium; it is the honest way to beat a fixed budget with arithmetic instead of hope.
It is worth reclaiming a word here, because the move in that last paragraph is the one most photographers have heard maligned. What you have heard called HDR, high dynamic range, is exactly this: several bracketed frames merged so the final image holds a span no single exposure could. Done honestly, that merge is not a look at all; it is the assembly of what the camera genuinely recorded across the brackets: the same honesty the aerial lesson invokes when it stitches or merges to hold a range one frame couldn't. The garish, haloed, gray-skied "HDR look" that gave the word its bad name is not the bracketing. It is tone-mapping pushed past reason afterward: a local-contrast slider cranked until the sky turns dirty and every edge glows. Bracket and merge to beat the budget, then process the merged file with the same restraint you would give any other, and no one will call it HDR, because HDR was never the merge; it was the abuse laid on top of it.
When one frame has to carry it, expose to the right, ETTR: give the frame as much light as the brightest tone you need texture in can stand without clipping, then pull it back down in post. The reason is physics, not fashion. A brighter capture collects more light, and the noise you are fighting lives in the darks: bank the exposure high and the shadows sit far enough above the noise floor to come down clean. WHERE that leaves the key tone is the exposure lesson's call; this move protects the span around it.
And fourth, the most misunderstood: choose your clip. Not every lost end is a failure. A specular glint off chrome or water, a bare bulb, the sun itself: hold those and the whole frame goes grey and timid; let them blow and it breathes. A silhouette is a deliberate shadow clip; a high-key frame is a deliberate highlight clip. The advanced move was never holding every tone. It is knowing which end the picture can afford to spend.
Two of those four moves both beat a scene that is merely wider than the container (the graduated filter and the bracket-and-blend) and choosing between them is its own small craft. The grad wins when the bright region has a clean, roughly straight boundary the filter's transition can lie along: an open sky over a flat sea, an unbroken horizon, where one frame darkened across the top holds everything, the whole job is done in-camera, and there is nothing to align later and no subject that can move between frames. The blend wins when that boundary is broken (a ragged mountain ridge, trees and a steeple poking into the sky, a city skyline) because a straight filter darkens whatever crosses its line, blackening the peaks along with the sky, while a hand-blended bracket can follow the real edge; the blend also wins when the range is simply too extreme for any single graduated pull. And neither is needed when the scene, contrasty as it looks, still fits the RAW budget: there a single frame exposed to the right holds the whole span, and reaching for a filter or a bracket is solving a problem you do not have. The grads themselves come in three cuts worth knowing by name: a hard-edge grad has an abrupt transition, for those clean straight horizons; a soft-edge grad feathers its transition, for broken or uneven skylines where a hard line would betray itself; and a reverse grad is darkest across its middle and lighter toward the top, built for the one scene that defeats the others: a sun sitting right on the horizon, where the brightest band is the horizon line itself, not the top of the sky.
보정에서
Post has real latitude on the container, right up to a hard wall. A RAW file gives back a stop or two of retained highlight and lets shadows lift at a noise cost: the slider mechanics of that reveal, and the line between a recoverable bright and a gone one, belong to the highlight-recovery lesson. For the flat, low-range frame the fix is anchoring: set a black point and a white point that stretch the bunched middle back across the full scale, handing the frame the structure the capture skipped. A bracket merges into a single file that holds the whole scene. Local work does the fine fitting: burn a hot patch back a step, dodge a shadow open to show the detail hiding in it; the brushwork itself is the dodge-and-burn lesson's, used here as a range tool rather than a ranking one.
The honesty clause here is the hardest wall in this curriculum: a container cannot be enlarged after the fact. A highlight driven past the sensor's ceiling in all three channels holds nothing: the slider only greys the white; it cannot paint back cloud the sensor never saw. A shadow crushed to the noise floor has no detail to lift, only grain to amplify. And a genuinely flat frame stretches only so far before the seams show: push contrast hard into a smooth, low-information sky and it bands into visible steps, because a handful of captured tones is being stretched across a scale it was never given. When a single frame clipped an end that mattered and there was no bracket and no grad to fall back on, that is capture-limited in the plainest sense: the decision this lesson teaches was available for exactly as long as the shutter was open, and post cannot travel back to it. Post protects a span you captured. It cannot restore one you didn't.
실력의 사다리
- Beginner: takes what the meter hands over. One frame, no read of the span; the blown sky or the black shadow is discovered later, on the screen, as a surprise.
- Competent: reads the histogram. Recognizes when the scene has beaten the container, shoots RAW, and protects the important highlight from the clip that matters. The accidents stop; the decisions haven't started.
- Strong (the serious amateur's working level): measures both spans before the shutter. Scene against sensor, then the right tool for the gap: a grad or fill to compress, a bracket to expand, ETTR to bank the data. An end is rarely lost by accident.
- Advanced: spends the range as intent. Wide scenes fit seamlessly, flat scenes get an anchor, and a clipped end is a purchase rather than a loss (a silhouette, a high-key wash, a blown specular) because the picture, not the histogram, decides which tones to keep.
찍으러 가세요
Find ONE scene a single frame cannot hold: a bright window in a dim room, a sunlit view over deep foreground shade, a backlit subject against a blazing sky. Tripod, composition locked, white balance fixed. Shoot the SAME frame four ways, changing only how the range is handled: (1) meter-normal, one frame, no help (the accidental version); (2) ETTR: as bright as the key highlight allows without clipping it; (3) a three-frame bracket at 0 and ±2 EV, for blending; (4) one deliberate sacrifice: expose for the highlight and let the shadows go, or the reverse, so exactly one end is a clear choice.
Import all four and read the histograms before the pictures: name what happened at each end of each frame (lost by accident, held, or spent on purpose). Blend the bracket and set it beside frame one; the detail present in the blend and simply absent from the single frame IS the scene's span spilling out of the container, made visible. Then choose honestly between the blend and the sacrifice frame, the held-together span or the committed loss, because wider is not automatically better; it is only automatically wider.
Then close the loop, and make it a wager you can lose. A critique named exposure as your bottleneck: that is how this page found you, because a span spilling out of its container surfaces as a blown or blocked exposure, never under a tidy "dynamic range" label. So the prediction is specific: re-critique your best-fit frame, and if the fit was what held the frame back, exposure should no longer be the tone the critique catches on, and the FinalFrame Score has room to move with it. If exposure is named again, that is information, not indictment, and the four histograms you saved already hold the reading. Either the scene's span was narrow enough that fitting it was never the real problem, and the limit lives elsewhere; or the frame protected the wrong end, spending its detail where the picture needed it kept. Both answers were worth four frames to own. The score is not the reward: the moved bottleneck is.