Exposure
Whether the image's overall brightness serves the subject and mood.
FinalFrame는 모든 사진을 0–10으로 채점해요. 6은 탄탄한 수준, 8은 포트폴리오에 어울리는 수준, 9는 전시 등급이에요. 채점 방식
진짜 정체
Exposure is taught as "correct brightness," and the word correct is where the teaching goes wrong. There is no correct. Exposure is the deliberate placement of the one tone that carries the picture onto the sensor's response curve, and, inseparably, the decision about what you are willing to lose at each end to put it there. The meter cannot make that decision for you. A meter reports an average of the light it sees and is built to render whatever it reads as a midtone; it has no opinion about which tone in the scene is the picture. Aim it at snow and it offers you grey snow; aim it at a black coat, grey coat. It is not broken: it is answering a question you didn't ask. Which tone is the subject of this exposure is the only question that matters, and you are the only one holding an answer.
And every exposure is an allocation under a fixed budget. The sensor holds a finite span from the darkest usable shadow to the brightest unclipped highlight (its dynamic range) and any scene that exceeds it forces a sacrifice: something clips, or something drowns. Even inside the budget, you are choosing where the tonal mass sits. Every exposure throws something away, chosen or not. The photographer who understands this stops asking "is it exposed correctly?" and starts asking the only two questions exposure actually contains: where did the key tone fall, and which end did I choose to protect?
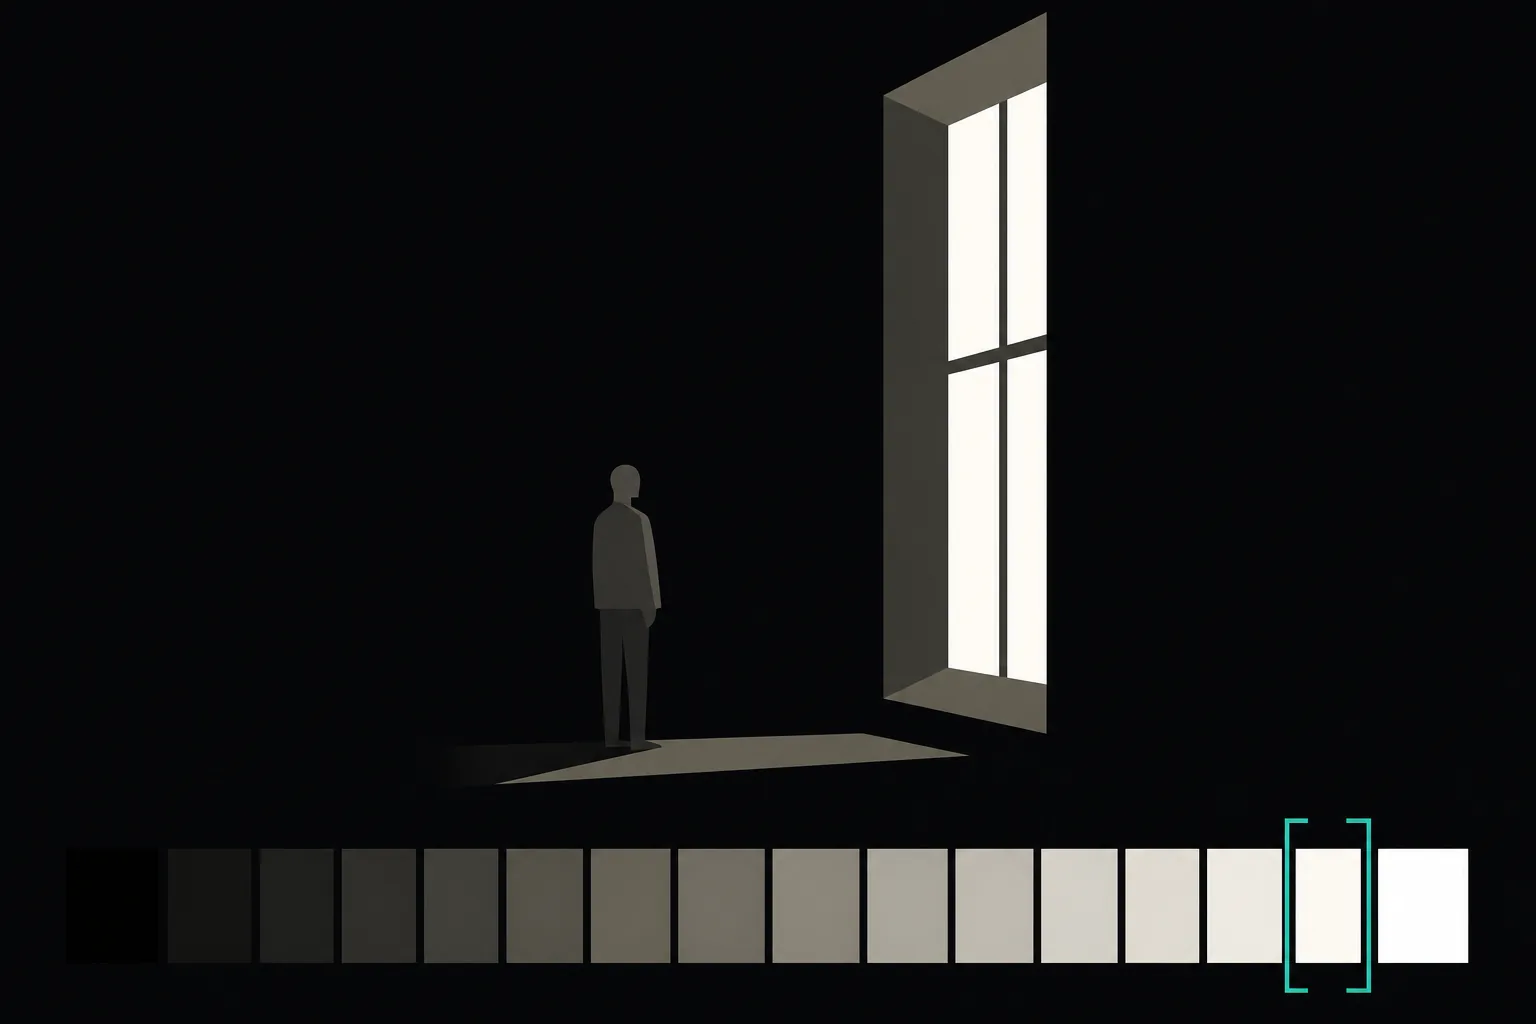
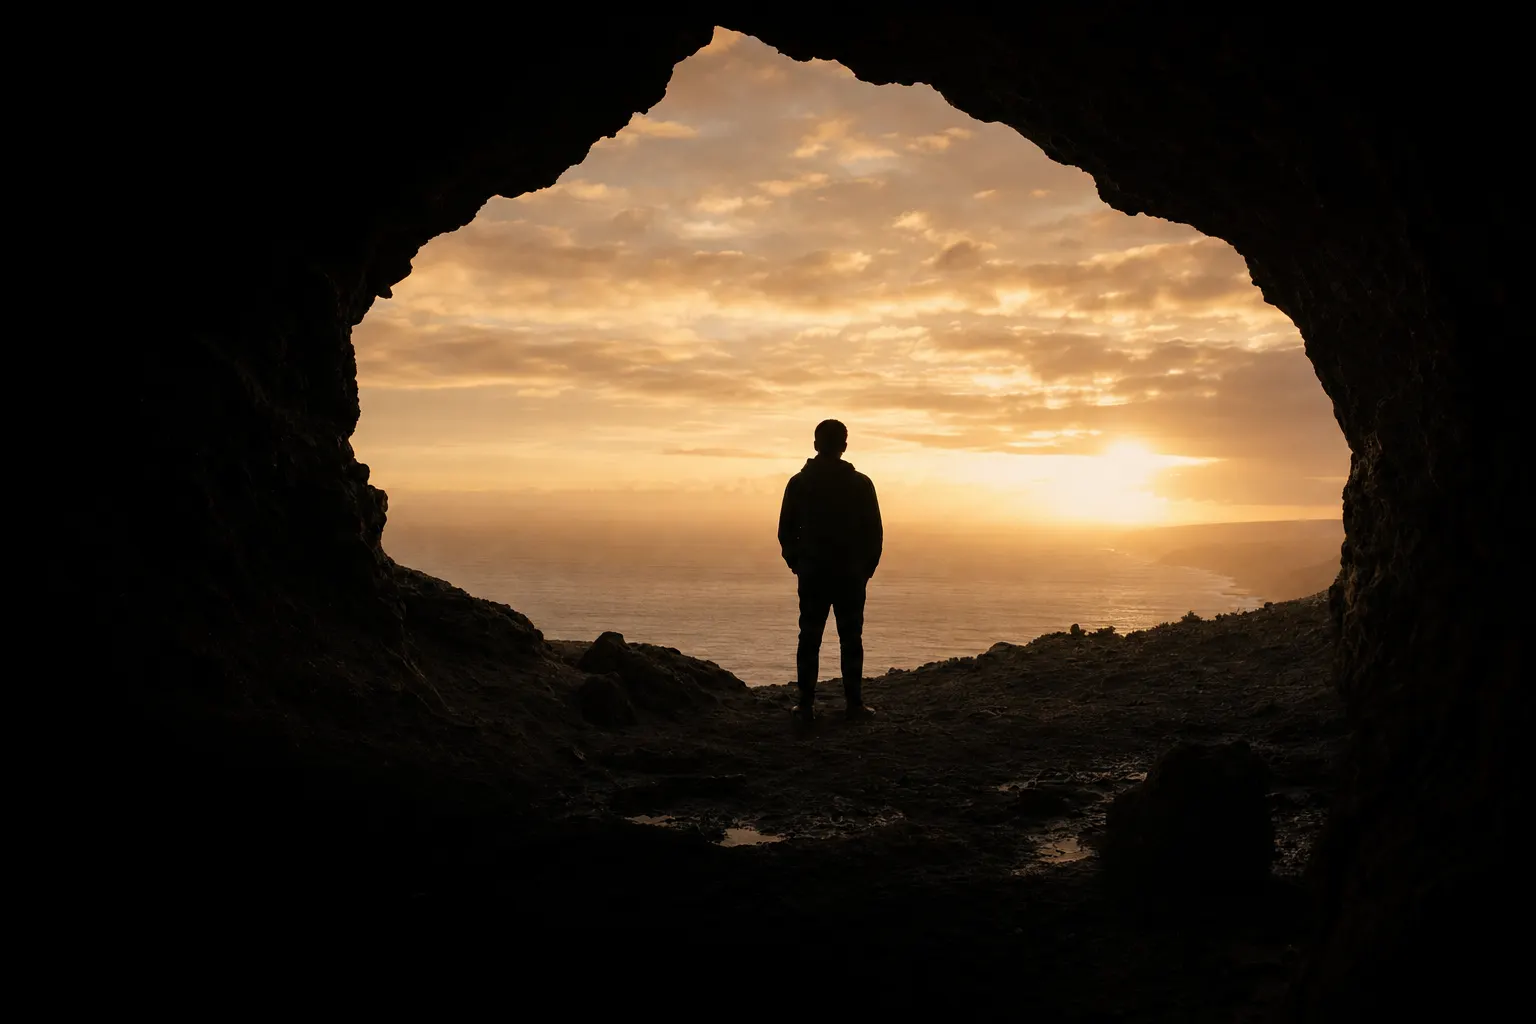
AI 생성
6과 8을 가르는 것
A 6 is technically safe, and safe is its ceiling. The histogram is tucked politely inside both walls, nothing clips, every midtone is present and accounted for. It is "properly exposed", and it is nobody's decision. It reports the scene's light instead of shaping it; it reads as the meter's opinion, faithfully transcribed. On a judging wall it is invisible, because an exposure built to avoid failure cannot also create an effect.
An 8 uses light as a compositional force. It commits. One tone is protected absolutely (the detail in a cloud, the catchlight in an eye, the shadow-side skin) and everything else is allowed to go where the mood demands: into near-black shadows that anchor the frame, or a high-key wash that is unmistakably a choice. Look closer and the 8 has a legible tonal anchor (a true black somewhere, or a controlled bright) that gives the image its structure, and you can read exactly what was sacrificed to buy the effect. That legibility is the tell: the 6 was exposed to avoid failure; the 8 was exposed to create an effect, and accepted a controlled clip to reach it. The safe frame disappears into the wall; the committed one has presence. A sacrifice made on purpose, and readable in the frame, is the whole distance between the two scores.
셔터를 누르기 전에
Read the scene's range with your eyes before you meter. Find the brightest thing you want detail in and the darkest thing you want detail in, and estimate the stops between them. A modern sensor shooting RAW holds more than the folklore says: call it ten stops you would actually print, more on the spec sheet before the noisy shadow floor. The old "five or six stops" rule was never about your sensor; it describes the delivery end. A reflective print holds roughly five to six stops of true black-to-white, and the tone curve that bakes a RAW into a JPEG or a print decides how the captured range folds into that smaller delivered one, so a range the sensor caught cleanly can still collapse at delivery. Only when the scene beats even the RAW budget, the classic bright sky over deep shadow, are you forced to decide which end to protect. That decision is the exposure. Everything after it is bookkeeping.
After the frame, interrogate the histogram, not the pretty LCD: brightness on the back screen is a mood, not a measurement. A spike jammed against the right wall with the highlight "blinkies" flashing on your subject means detail is going or gone. One honesty note about the tool itself: the histogram and the blinkies are computed from the camera's JPEG preview, not from the RAW file (they cry wolf slightly early, and the RAW usually holds a little slack past the alarm). Useful slack, but unmeasured slack; test once where your camera's true ceiling sits before you bank a key highlight on it. Then ask where the anchor is: an image with no tone near either end usually reads flat and grey. And squint at the review: does the tonal mass sit where the mood wants it, bright and airy or weighted dark?
촬영에서
Meter for the tone you cannot lose, then let the rest fall. In practice: spot-meter the key highlight and place it (the meter will offer to render it as a midtone, so opening up roughly two stops from that reading sets it bright-with-detail instead of grey). That is placement, and it is the deliberate opposite of centering the meter on the whole scene and hoping. For digital, the refinement is to expose to the right: give the frame as much light as the key highlight can stand without clipping, then pull the brightness back down in post. The reason is physical, not stylistic: a brighter capture collects more light, and the noise you are fighting lives in the darks. Expose generously and the shadows come up smooth; expose timidly and lift later, and they come up as grain.
How you deliver the chosen exposure is the triangle's business, and it pays to keep its jobs straight. Aperture and shutter set how much light reaches the sensor, each with a side effect you are also composing with: depth of field on one dial, motion on the other. ISO adds no light at all; it maps what arrived to a brightness. Which is why a high-ISO frame is noisy: the grain is mostly the sound of too little light, not a penalty the dial added. When a frame needs cleaner shadows, the answer is more light (wider, longer, or brighter), not a smaller number.
When the scene's range genuinely exceeds the sensor's and both ends matter, bracket (three frames at ±2 EV from a locked composition) and blend them later. That is not cheating; it is how a fixed budget gets beaten. Better still, change the budget itself when you can: a graduated ND pulls a bright sky back into range, a reflector or a touch of fill lifts a shadow-side face, and simply waiting (for a cloud, for the light to move) softens a contrast ratio no slider can civilize. And shoot RAW, always: it is the difference between a stop or two of recoverable highlight and none.
보정에서
Post has real latitude here: more than for focus, less than the sliders imply. From a RAW file you can pull back a stop, sometimes two, of highlight that looked lost on the LCD; you can lift shadows, paying for every stop in noise; and you can set the black point and white point to give the frame the anchor it lacked. Order matters: white balance first, because it changes how every tone reads; then global exposure to taste; then highlight recovery; then the selective shadow lift; and set the black and white points last, once the frame's tonal architecture is settled.
Why recovery works until it suddenly doesn't: "blown" arrives in stages. When one or two color channels hit their ceiling, the converter can rebuild the missing channel from the survivors: that is the stop or two of grace. When all three channels clip, there is nothing left to rebuild from. A truly blown highlight (the clipped sky, the specular hotspot on skin, the white dress in sun) holds no data at all, and the Highlights slider can only darken the grey around it; it cannot invent cloud texture the sensor never recorded. A JPEG clips harder and earlier, and carries almost none of RAW's grace. On the other end, lifted shadows arrive with noise on their backs: push a deep shadow four stops and you are editing grain, not detail.
When the key highlight is gone in all three channels, or the shadow you needed is pure black and boiling with noise, the frame is capture-limited: no edit reaches it, and the honest fix is a reshoot with a bracket or a grad. Post protects a decision. It cannot undo a sacrifice you didn't mean to make.
실력의 사다리
- Beginner: trusts the meter. The histogram is centred because the camera centred it. "Properly exposed" and flat: every frame the meter's opinion, none of them a decision.
- Competent: reads the histogram. Clipping is recognized and the important highlight protected; the files are RAW. The failures stop; the decisions haven't started.
- Strong (the committed hobbyist's working level): exposes for intent. The key highlight is protected on purpose, shadows are allowed to fall for mood, the frame is exposed to the right when the light allows and bracketed when the range demands it.
- Advanced: manages the whole tonal budget. The key tone is placed deliberately, a true-black or controlled-white anchor is built into the frame, and the contrast ratio itself is shaped at capture (fill, grad, timing) so that post is refinement, never rescue.
찍으러 가세요
Find one high-contrast scene you cannot simply meter away: a backlit subject, a bright window in a dim room, a sky over deep shadow. Lock everything down: tripod, fixed composition, fixed manual white balance. Then shoot a seven-frame exposure ramp: the meter's zero, then ±1, ±2, ±3 EV. Change only exposure. This is the same one-variable discipline as shooting one subject from six positions, run along the tonal axis: exposure is the only variable, because exposure is the lesson.
Import all seven and read the histograms like a judge reads a wall. At which frame does the highlight you care about first clip: right-wall spike, blinkies on the subject? At which does the shadow you care about go pure black and noisy? Between those two walls is the truth of this scene, and the exposure worth keeping usually sits just inside whichever wall you decided to protect: almost never at the meter's zero. Pick your frame and say out loud what it sacrifices. If you cannot name the sacrifice, you haven't found the decision yet.
Then close the loop. Re-critique that one pick: the frame the ramp taught you to choose. A critique named exposure as your ONE bottleneck, which is why you are reading this; the ramp is the experiment that tests whether the diagnosis still holds. A placement made on purpose should retire exposure as the named limit, and the FinalFrame Score has room to move with the tone you protected. And if exposure is named again, that is information, not indictment: either this scene was one where the meter's zero genuinely was the right call, and the decision you practiced needs a scene that punishes it, or the frame's limit is a tone no placement could have reached, and the fix is light (a grad, a fill, a bracket), not a braver slider. Both are worth seven frames to know. "Correct exposure" is a decision you make, not a number the camera hands you, and the moved bottleneck, not the score, is the proof you made it.